This card was created in June for my work colleague and friend who had just engaged. Thought it quite fitting for the Polkadooles August Challenge, celebrations all round for a great idea to get us all blogging and sharing are great creations and having pride in what we do.
Here it is, hope you like it as much as the recipient did.
Saturday, 4 August 2012
Polkadoodles August Challenge
Well I am back!! Its been a long time since I blogged. I have been making and creating but never seem to get the time to update my blog.
Then along came the kick up the bum I needed. A challenge from Nikky Hall at the Polka Doodles FB page.
The challenge is to put 3 cards on to our blogs and one has to be using the Emma Canning Image from the team.
So here goes here is the first card, it was made in May for a work colleague of my husband who had just successfully got the job as the new headteacher at his school.
Hope you get the little twist............
Then along came the kick up the bum I needed. A challenge from Nikky Hall at the Polka Doodles FB page.
The challenge is to put 3 cards on to our blogs and one has to be using the Emma Canning Image from the team.
So here goes here is the first card, it was made in May for a work colleague of my husband who had just successfully got the job as the new headteacher at his school.
Hope you get the little twist............
Sunday, 4 March 2012
New Arrival
Here is this afternoons creation. Inspired by the new arrival for a fellow football friend, I set to work to create a card to welcome the new born to their family.
Again there is a little heat embossing involved as I am getting quite obsessed about using this technique in my craft work now.
First I chose a blue card blank and the blue accessories I was going to use and to round scalloped paper doilies, 1 large and 1 small. The two paper doilies were then embossed using a silver embossing powder.
Two pieces of patterned paperstock were then chosen. I chose a blue paper with white spots and a blue and white check paper. The blues are a pale blue. The dotty paper was placed to the left going to just over the centre and then the check paper was placed as a diamond to the right of the dotty paper. Then the embossed doilies were placed next to each other, large to the right and the small to the left and slightly lower.
In the centre of the large doily I placed an image which was taken from the 'fizzy moon' decoupage collection and fixed using foam pads to give it depth.
Again there is a little heat embossing involved as I am getting quite obsessed about using this technique in my craft work now.
First I chose a blue card blank and the blue accessories I was going to use and to round scalloped paper doilies, 1 large and 1 small. The two paper doilies were then embossed using a silver embossing powder.
Two pieces of patterned paperstock were then chosen. I chose a blue paper with white spots and a blue and white check paper. The blues are a pale blue. The dotty paper was placed to the left going to just over the centre and then the check paper was placed as a diamond to the right of the dotty paper. Then the embossed doilies were placed next to each other, large to the right and the small to the left and slightly lower.
In the centre of the large doily I placed an image which was taken from the 'fizzy moon' decoupage collection and fixed using foam pads to give it depth.
On the smaller embossed doily I stamped an image of a baby on a pillow using just black ink.
Down the lefthand side of the card I placed a strip of blue flowered ribbon and added 3 blue ribbons using sticky dots. Then in the space above the small doily I made a flower from pre-cut large petal shapes and used a large brad.
In the space below the doilies I added to small baby handprint embellishments and then completed the card with the peel off sentiments 'congratulations' above the large doily and 'a baby boy' under the large doily' and finally a collection of sparkly stars in the top righthand corner of the card.
The final card
It took quite a long time to make but I am quite pleased with the final product. Hope you are too.
Well trying to keep up with this blogging is a bit of a nightmare. I make a card and take the pictures, then it takes ages for me to remember to upload the pictures and then add them to my blog. I could really do with a computer permanently in the craft room, but think thats a bit of wishful thinking really.
I made this birthday card a few nights ago and I am only just getting round to putting on this blog, oh well better late than never I suppose.
There is quite a bit of heat embossing again as I am enjoying playing around with this technique at the minute. So first I embossed some chipboard flower shapes, using gold and burgundy embossing powders.
I made this birthday card a few nights ago and I am only just getting round to putting on this blog, oh well better late than never I suppose.
There is quite a bit of heat embossing again as I am enjoying playing around with this technique at the minute. So first I embossed some chipboard flower shapes, using gold and burgundy embossing powders.
Then I embossed a paper doily with the burgundy embossong powder, let it dry, then embossed on top of this with the gold embossing powder.
Next I cut two scalloped square borders using the sizzix big shot. The large border is white paperstock and the smaller frame is with pink paperstock. Then the image was added. The image is taken from the 'fizzy moon' decoupage collection. The white frame is placed and then the small pink frame is placed inside the white one but ofset diagonally, with the image in the middle if this. To look like below
You can see the depth of the decoupage image in this next picture.The last parts to make were the sentiment and the flowers. The sentiment was backed onto card the same colour as the card blank and cut out the same shape. Then I made three flowers using pre-cut petal shapes and glitter brads for the centres.
All that was left was to then put all the elements of the card together on burgandy card blank. Half the card blank was then covered with a gold patterned paper and edged with gold glitter peel off edging. The embossed paper doily was then placed on top of this paper, slightly overhanging the righthand edge. The scalloped frames were then arranged to the right of the doily. Then in the left hand corner place the 'happy bithday' sentiment and arrange the three flowers underneath the sentiment in a cureve. The finished card is as below.
Hope you like it!!!
Friday, 17 February 2012
Mothers Day card (NAN)
Well it has been another productive afternoon in the small confinements of my craft space. Still practising with the embossing and after some lovely comments about my previous card I have kept the design very similar and just changed some small elements. Here is what it turned out like.
How did I do it I hear you ask lol!!!!
Well firstly I heat embossed 2 paper butterfly outlines. One with Candy Green powder and the other with Enchanted Gold powder. The Candy Green powder didn't take as well as the Gold but it gave it a crackled effect so decided to stick with it.
I then cut the scalloped oval shape out of the leather effect green card stock with my Big Shot and then heat embossed embossed the edges of the shape with the Enchanted Gold. Next I stamped the panda image on the scalloped shape and again heat embossed it with the Enchanted Gold powder. Used some foam pads to lift it from the rest of the card and to give the card depth.
The rest of the card comprises of a piece of Laura Ashley paper, gold sparkly peel off edging strips, green gems and green / cream flower shapes and cream glitter brads. The letters of NAN were made with Bloom & Grow, My Mind's Eye chipboard letter shapes.
I arranged the letters and the image onto the packing paper first, and edged the backing paper with the peel off edging strips. I then used black ink to stamp the words 'WITH LOVE' underneath the raised image.
Lastly to complete the card, arranged the butterflies to the left of the card and finished the bottom corner with three flowers and the top corner with the green gems.
Hope you like the completed card.
Thursday, 16 February 2012
Mothers Day
So now I have got the inspiration and the crafting bug back I went on to make another Mothers Day card, after a small trip to hobbycraft for some extra inspiration and bits. Here is what I came up with.
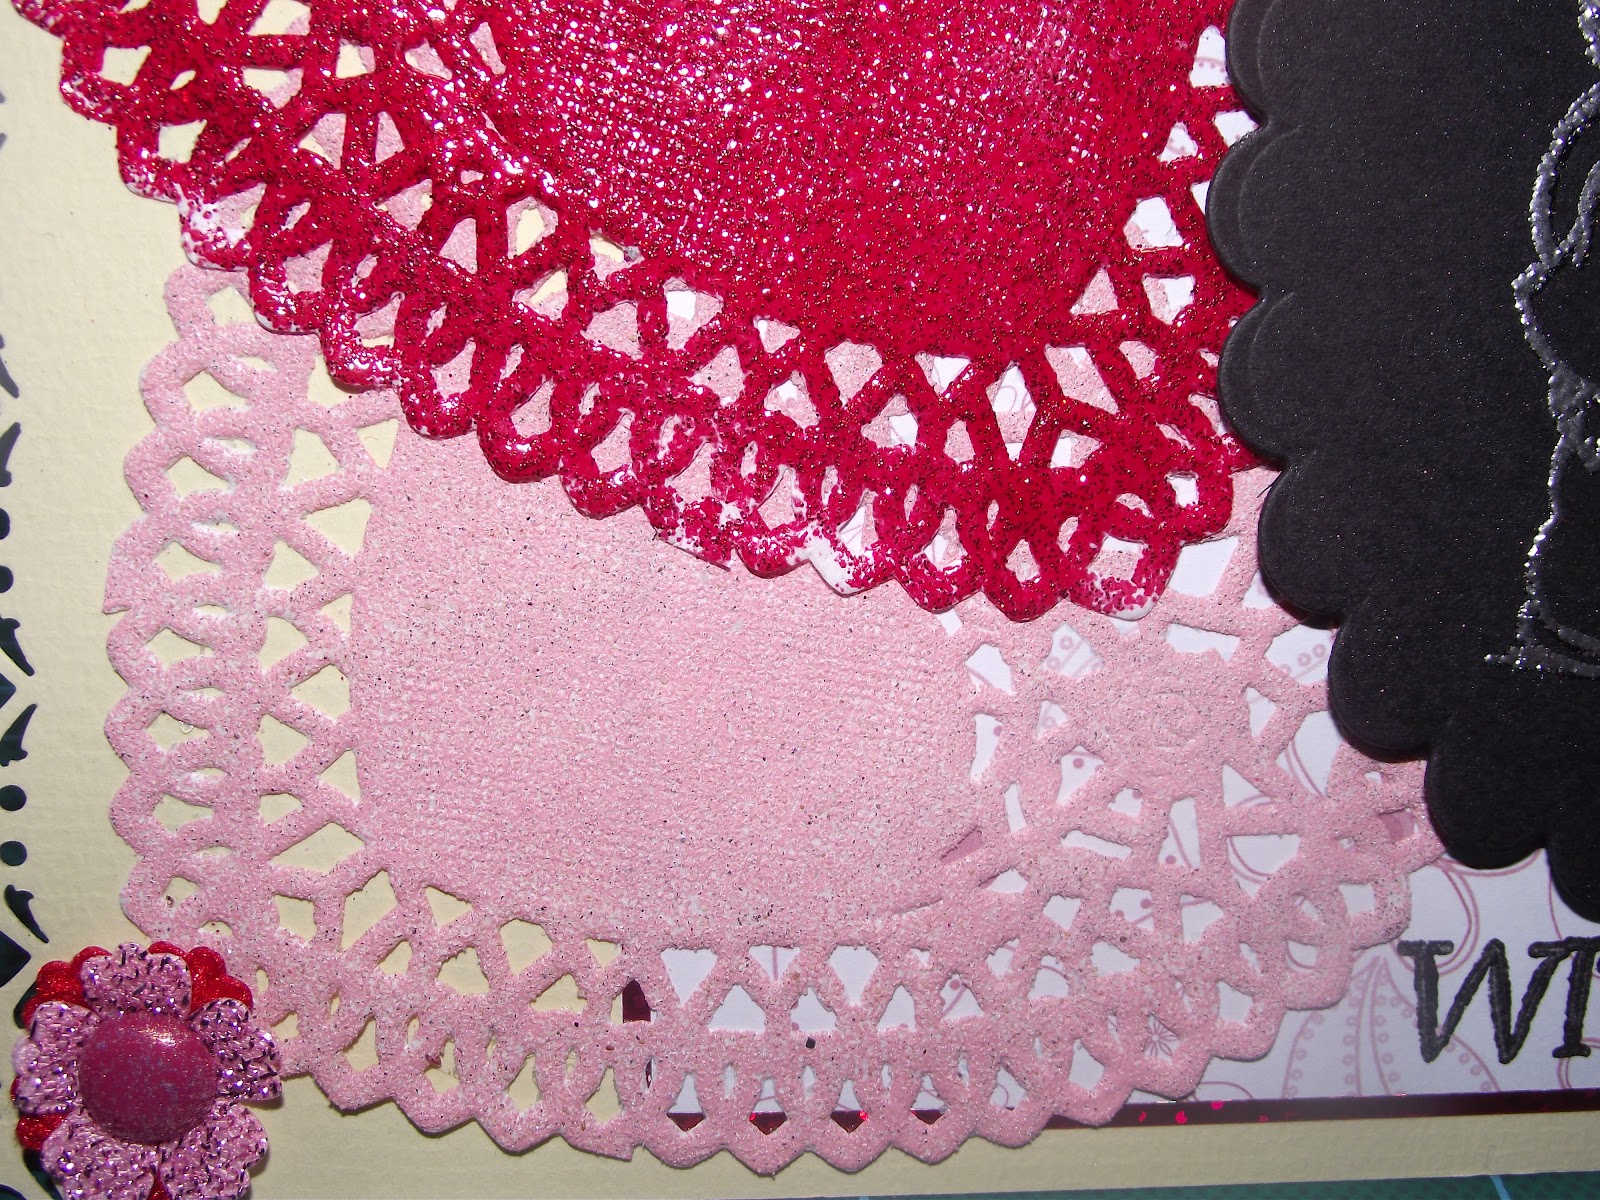
After been inspired by my previous heat embossing card I gave it another go. First I embossed two heart shaped doilies, one in a glitter red embossing powder and the other with a pink distressing powder.
Next from a piece of black cardstock, cut a scalloped edged oval and then print on it the image taken from Woodland Folk clear stamp. Heat emboss the image with silver embossing powder.
Punch the edeges of the card blank with the heart edging. Arrange the elements on the card blank and on top of the pink patterned paperstock. Add the finishing touches of red gems, Mum and with Love stamped in black ink and then make the flowers using felt red and pink flower shapes and pink glittered brads.
Final product which I am quite proud of
Trying something new
Well I have been struggling for inspiration for a while now, but finally I have produced 2 new cards ready for Mothers Day. Tried some embossing which I don't use often. It has been a struggle but hopeful you will like the final outcomes.
Oh and I nearly forgot the four buttons too LOL!!!
Firstly I made the sentiment using a free Mum stamp, on green leather effect cardstock and then heat embossed the image with purple aurora cosmic powder and a Tim Holtz distressing powder. I also embossed the edge with the cosmic powder too.
Next
I embossed a piece of black cardstock with an embossing folder and then heat embossed it with the Tim Holtz distressing powder to enhance the pattern.
Then
I made three flowers using small glitter brads to finish the corner.
Then I put it all together with the other elements, printed paper, self adhesive edging in green and brown and glitter edging peel offs and lastly some flower and butterfly toppers.
The finished product
Oh and I nearly forgot the four buttons too LOL!!!
Subscribe to:
Posts (Atom)